One of my overriding memories of my childhood is my Mum’s muffins. The smell of them baking, the agonizing wait for them to cool down, the soft fluffy yumminess inside. I have been known to almost bury my face in them to get the full sensory experience! And nowadays my children are getting to experience those same memories when they visit Grandma. So very special.
My muffins are based on Mum’s recipe but as with most family recipes things have evolved over time and they come out quite different to hers. But hopefully equally as yummy. I’ve tried to ‘healthify’ them a bit so I can use them as a staple in the kids’ lunchboxes without worrying that I’m filling them full of sugar and over refined ingredients on a regular basis.
Firstly, I switched up the flour. I use a half and half mix of white and wholemeal flour. This cuts the amount of refined flour by half and adds a decent amount of fibre. I’ve tried using all wholemeal flour but they come out very dense, still perfectly edible but rather less appealing. Gluten free flour works just fine too, this is what my Mum uses all the time now since my Dad has Coeliac disease, so a great option if you need it.
When Mum started using gluten free flour, she added an extra egg to keep them light and this works well in my recipe too. I’ve had some good success with chia eggs as well, they come out a bit less fluffy than with normal eggs, but again, a good option if you need to switch out eggs for any reason. I would imagine a flax egg would work too but I haven’t tried this myself yet.
Next is the sugar. The original recipe calls for a cup of sugar. A CUP!!! I don’t think Mum ever used this much either and I just can’t imagine putting that much in anything these days. I mostly make fruit muffins so I find that they really don’t need added sugar. The only exception is when I make rhubarb muffins, then I use a couple of tablespoons of sugar sprinkled over the rhubarb just to take the super tart edge off, but that’s all you need.
I’ve also used sugar substitutes before (stevia) with good results when I’ve made chocolate courgette ones. I guess a lot of it comes down to your personal palette. They do taste different to shop bought versions but it’s what I prefer and my kids don’t know any different and gobble them up so I’ll take that as a win.
Today I used a ripe banana and also chucked in a pear, because my kids love pears, and MUST have them. Until I buy them, then they sit in the fruit bowl or roll around the bottom of their school bags until they are almost inedible. Will I never learn? Oh well, they are easy to use up in muffins so at least they don’t go to waste.
I think Mum’s original recipe calls for melted butter. This does work but I find the muffins dry out much quicker when using butter. So, Mum and I have always used oil instead. Nowadays I only use cold pressed oils. Any oil will work but I prefer to keep away from the highly processed ones so today I used a locally made cold pressed rape seed oil – lovely buttery colour, so cheerful.
You will need a cup of liquid. I usually use full fat cow’s milk. But I will actually use whatever I have to hand to make up the one cup volume; plant milk, lemon juice, orange juice, whey from the yoghurt container and I’ve even used water once when I got to that point in the recipe and realized I had run out of every other option!
The cool thing about muffins is that once you have the basic recipe, you can switch up the flavours to suit your mood (or in my case, to suit whatever I have to hand that day). Basically, you just make sure that whatever you’re using gets mixed in with the right bit – wet ingredients all go together and dry ingredients (including chopped up fruit, mashed banana etc) all go together.
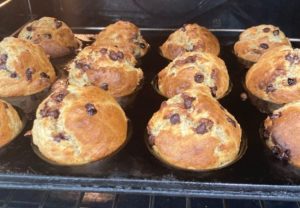
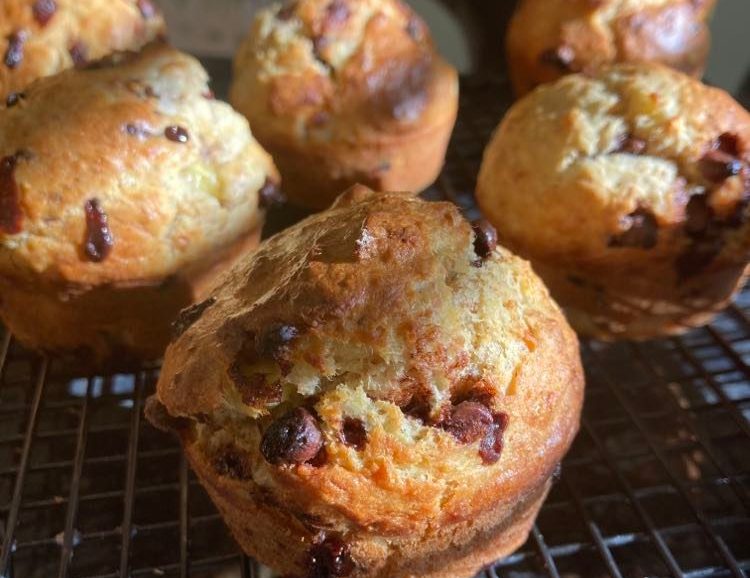
Today I made banana and chocolate chip. I used dark chocolate chips but I discovered that they have palm oil in them so I will have to up my game on that front and read the labels a bit more thoroughly next time. Just as well it was the end of the packet. And if I can’t find any good ones, I can just not make banana and chocolate chip ones for a while (although they are a firm favourite in this house).
Some of the other combinations I’ve done are
- Lemon and poppy seed
- Chocolate courgette
- Pumpkin and chocolate chip
- Carrot and spice
- Orange
- Rhubarb and vanilla
- Apple and cinnamon
- Strawberry
- Savoury ones with red peppers, cheese, spring onions – all sorts of veges.
They’re such a versatile food, they take 20 minutes from start to finish and freeze really well. I make a batch each week, chuck them in the freezer then just pull them out each morning and pop them straight in the lunchboxes. They’re defrosted and ready to eat by morning tea time. Or you can just zap them in the microwave for about 25 seconds and they’re good to go straight away.
Here’s the recipe.
I’d love to hear what you think and what other flavour combinations you come up with.
Ingredients
1 cup plain flour
1 cup wholemeal flour
3 tsp baking powder
Max ¼ cup sugar if you really need it to suit your palette, otherwise just leave it out
1 cup of chopped fruit or 1-2 mashed ripe bananas
1/3 cup chocolate chips (or seeds, or nuts or raisins)
2 eggs
1 cup milk
1/3 cup oil
Method
- Preheat the oven to 200 degrees. I always use the fan bake setting on my oven (mostly because I don’t know how else to make the oven work – ha-ha)
- Either spray your muffin tin with non-stick spray or pop a cupcake case in each hole
- In one large bowl add the flours and baking powder (and any spices and sweeteners you’re using). Give this a bit of a mix then add the chopped fruit, chocolate chips etc. If you’re doing banana muffins, mash the banana in this bowl first then just chuck everything else in on top.
- In another bowl put the eggs, oil and milk and whisk them together.
- Make a well in the dry ingredients and pour the wet ingredients in. Then mix it together with a bit of a folding motion. You want it to be mixed through but not overmixed.
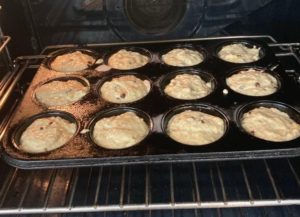
- Spoon it evenly into the muffin tin holes and pop it in the oven for 15 minutes.
- Remove from oven and leave in the tin for a couple of minutes before turning them out onto a baking tray. If you’re freezing, wait until they’re totally cold before you freeze them.